
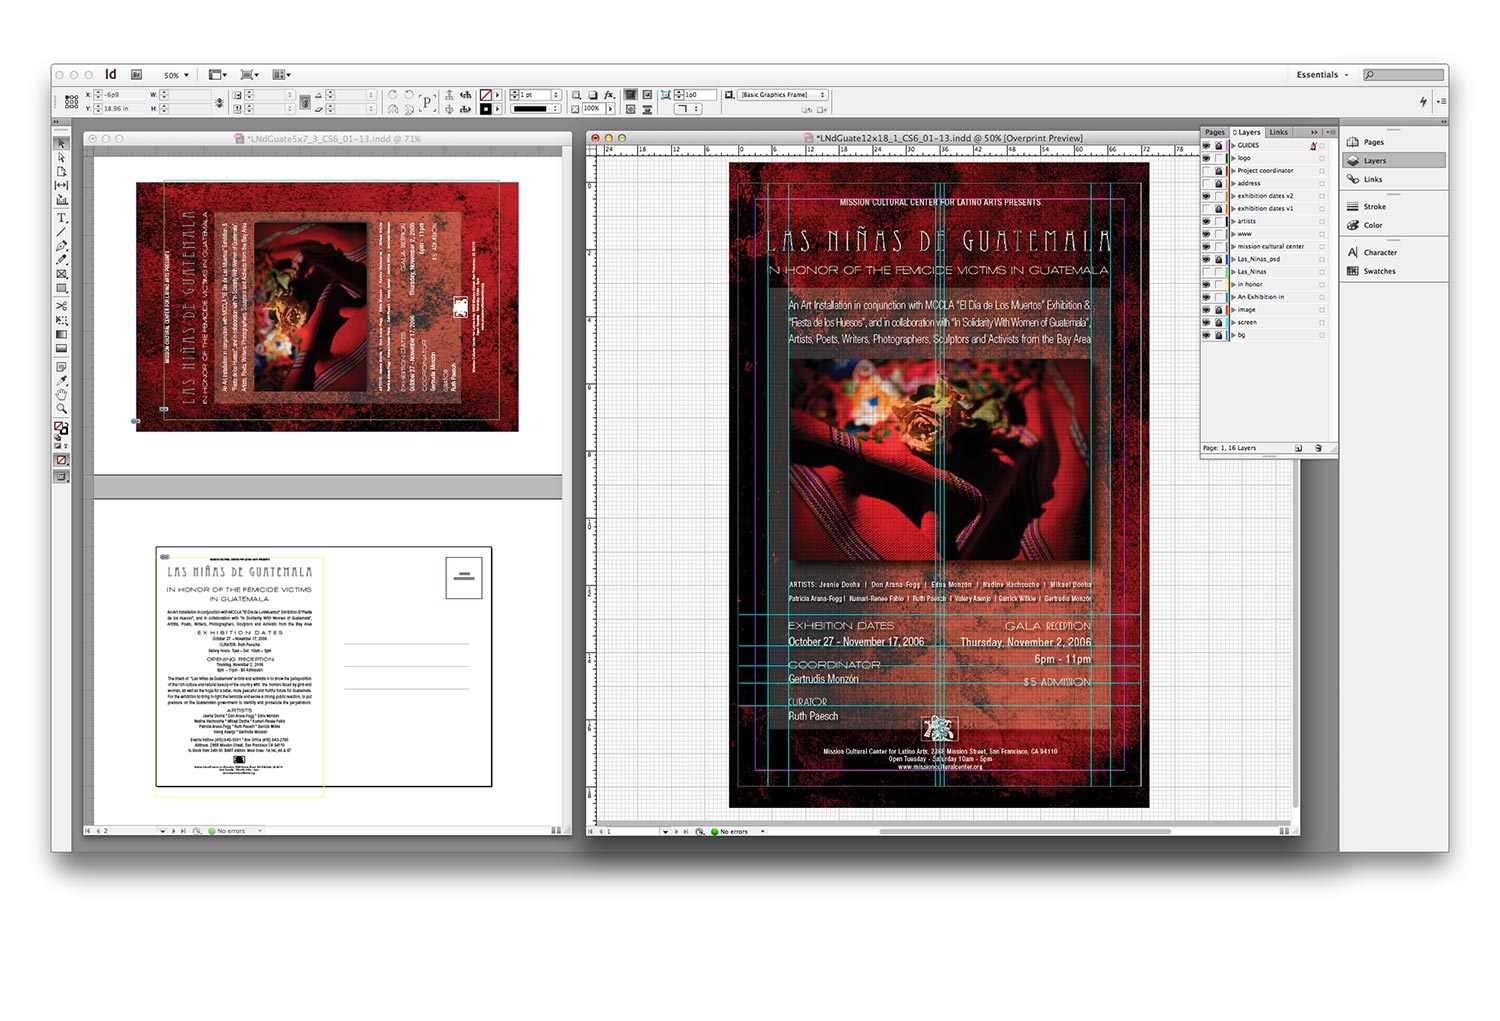
Adobe InDesign is the hub for this project. The Photoshop and Illustrator files are placed within the composition and links to their original files can be managed within InDesign all while you create a document that’s ready to go out to press.
Combining the Elements from Photoshop and Illustrator within InDesign
[hr color=”white” width=”50px” border_width=”1 px”]
[col grid=”3-1 first”]
Organize, compose and Play
using InDesign
[/col]
[col grid=”3-2″]
For this project there wasn’t a lot of body text to flow in and there wasn’t a need for Master Pages and many of the other powerful functions within InDesign. There were, however, various image files, and typography, which was designed in Illustrator as well as Photoshop. So the type was created and designed both inside and outside of InDesign. It’s easy to bounce from one application to another when all are open and running. The files are all linked within InDesign and any changes made outside of the application will be reflected in your InDesign document once you update the links from within the links palette. We’ll do all this real time / hands on and in person in class. The Lynda.com tutorials also go into detail on how this works. It’s really easy.
I like to experiment with different ideas and then use the application I think will do the job the best so I manage the process within InDesign.
[/col]
[hr color=”white” width=”50px” border_width=”1 px”]
Notice the background behind the main photo of the huipile above? Part of my Idea Development, in which I’d decided to create content that felt earthy and perhaps a little grungy included introducing design elements which would impart that feeling. After some coffee breaks and time off to get fresh I came up with the idea of shooting (doing photography in photo lyngo) a chunk of rough cement in my backyard patio. Then I could add adjustment layers and overlay it upon itself in creative ways to create the feeling I was looking for.
[hr color=”white” width=”50px” border_width=”1 px”]
[col grid=”3-1 first”]
Adobe Lightroom showing cement captures and a final, selected, image to layer behind the main image, and all the typography, and also go full bleed.
[/col]
[col grid=”3-2″]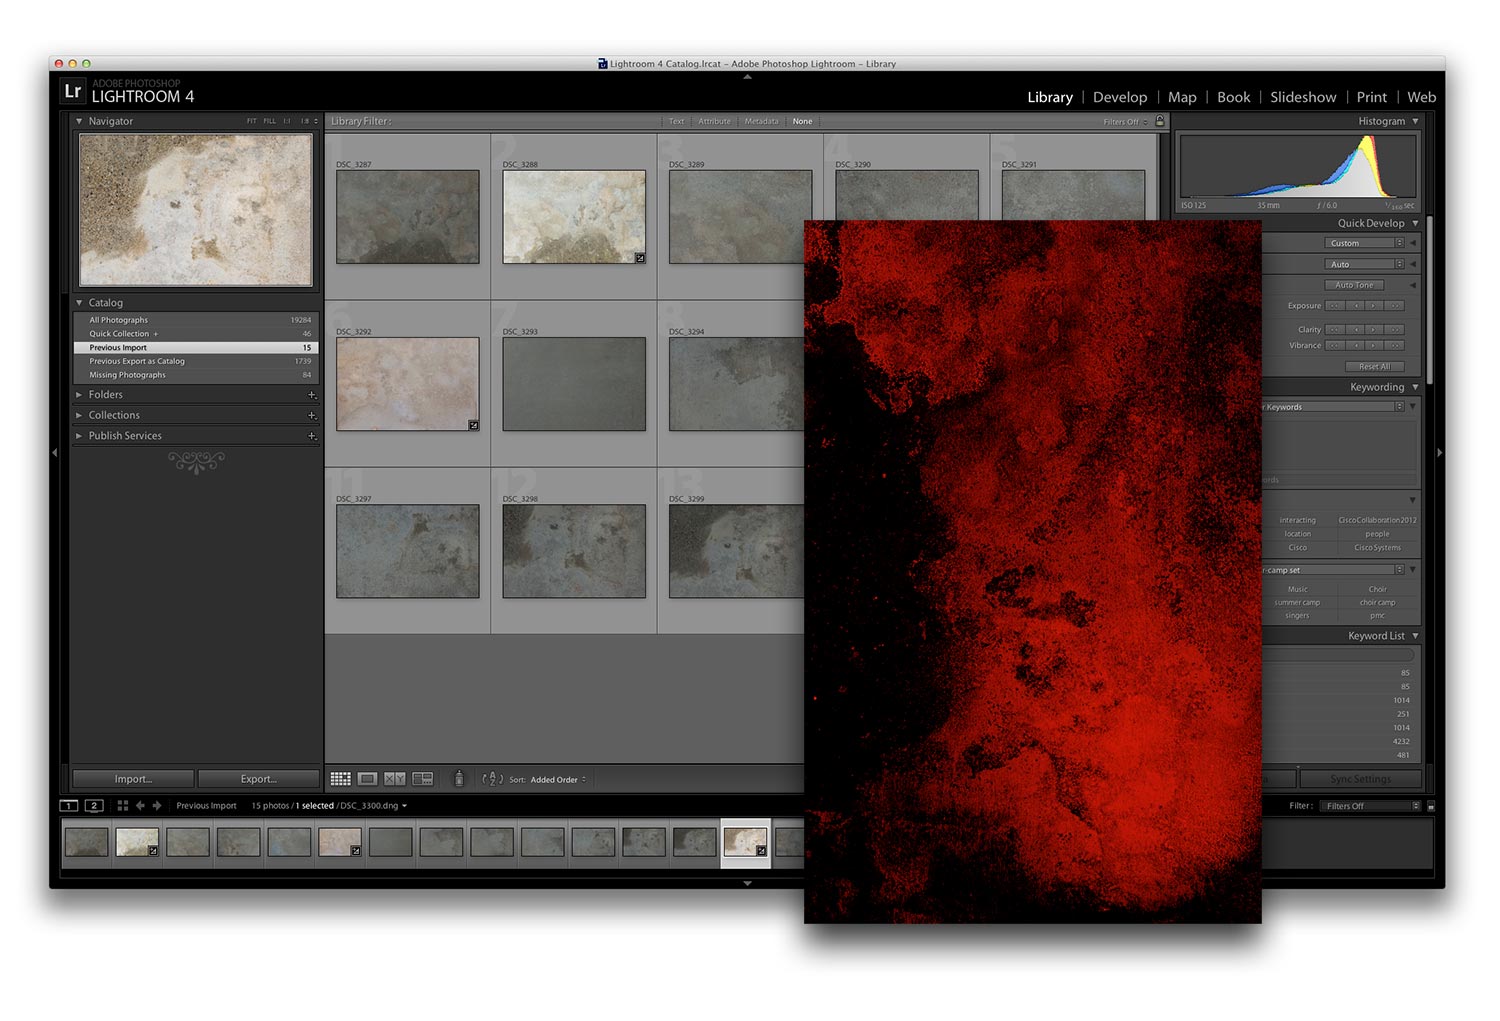
[/col]
[hr color=”white” width=”50px” border_width=”1 px”]
Check out the InDesign file on the top of this page again. The lowest / bottom layer is “bg”. That’s the stone image exported from Photoshop. The next layer up is a “screen” I put in to add depth and help punch up the top, hero photo, which is layer 3 “image”. Everything above that is Typography.
[col grid=”3-1 first”]
Business Card options in Adobe Illustrator
[/col]
[col grid=”3-2″]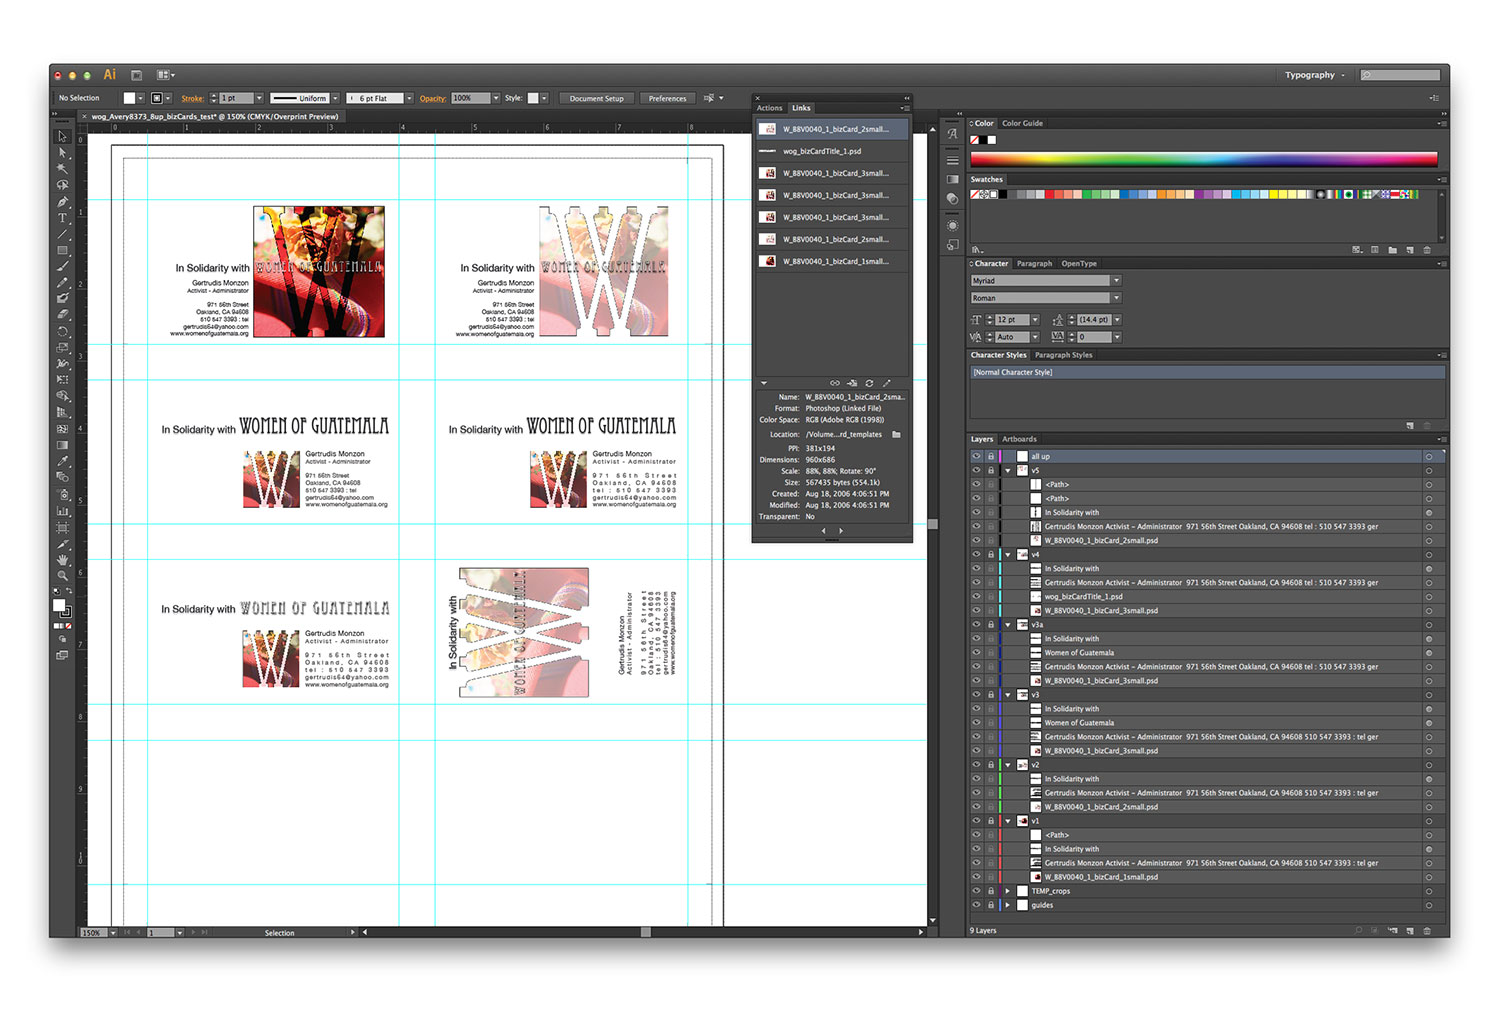
[/col]
[hr color=”white” width=”50px” border_width=”1 px”]
After this, I asked the students to dream up their own business, service organization, awareness campaign or … anything they liked; and create a complete brand identity and system to support their concept. Short version: they had a gas and were amazingly creative!!!
![]()